Advanced fading and blending spray techniques
Learn advanced fading and blending spray techniques for professional graffiti and mural art. Master pressure control, cap selection, and smooth transitions.
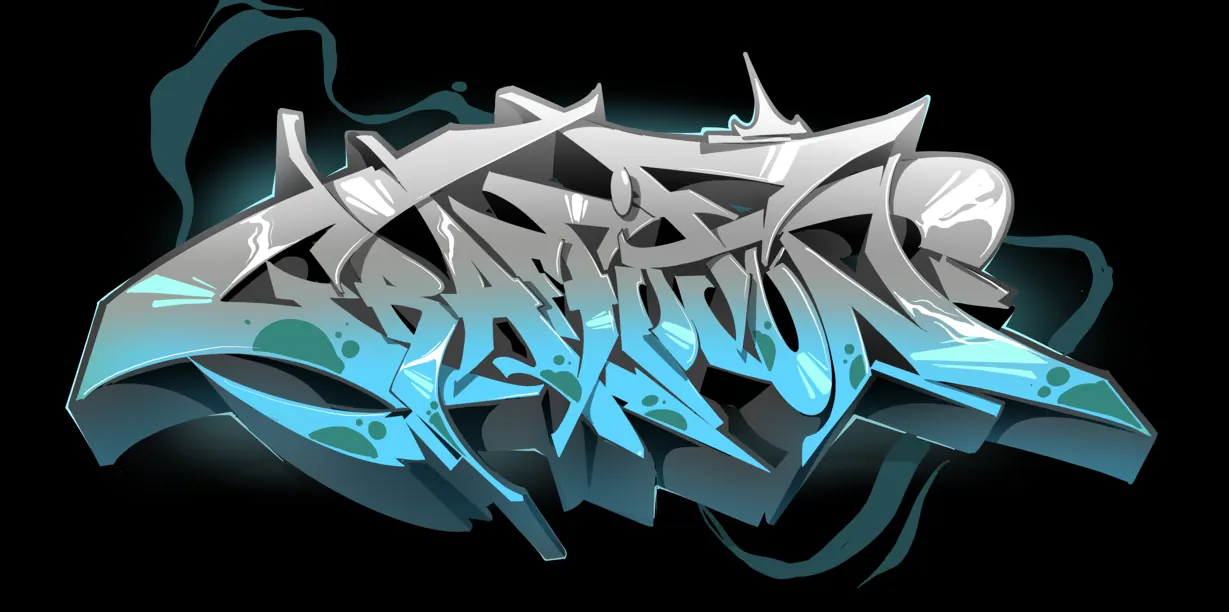
Mastering advanced fading and blending spray techniques is the hallmark of a professional graffiti artist. While basic tagging and fills are the foundation, the ability to create seamless, atmospheric transitions between colours elevates a piece from a simple sketch to a high-end work of aerosol art. In this comprehensive guide, we explore the mechanical and creative aspects of blending, providing you with the technical knowledge used by professional graffiti artists in the field. From understanding pressure control to selecting the perfect soft cap, you will learn how to manipulate spray paint to achieve smooth, vibrant gradients that bring depth and life to any mural or canvas. 🚀
Mastering the art of seamless transitions
In the world of professional aerosol art, the difference between a flat piece and a masterpiece often lies in the quality of the gradients. Fading and blending are the techniques used to create smooth transitions between two or more colours, giving depth, volume, and realism to lettering and backgrounds. While beginners often struggle with "muddy" colours or harsh lines, advanced practitioners use pressure control and wrist speed to achieve airbrush-like perfection.
At Graffitifun, our professional artists have spent years refining these methods during massive mural art projects. This guide breaks down the physics of the spray can and the muscle memory required to master advanced blending. 🖌️
The core principles of aerosol blending
To blend effectively, you must understand how paint particles travel from the nozzle to the surface. Unlike a brush, where you "pull" the paint, spray paint is "thrown." Blending occurs through the overlapping of "overspray"—the fine mist at the edge of the spray pattern.
The "Wet-on-Wet" rule
Advanced blending is most successful when the paint is still slightly tacky. When you apply a secondary colour over a fresh primary colour, the solvents mix slightly on the surface, allowing the pigments to integrate rather than simply layer. This is crucial for achieving the ultra-smooth transitions seen in wildstyle graffiti pieces.
Distance and angle dynamics
Distance is your primary tool for soft fades. Moving the can further from the wall (approx. 20-30cm) creates a wider, more dispersed spray pattern. Conversely, tilting the can so the spray hits the wall at an acute angle—known as "shading out"—allows the mist to travel further, creating a natural gradient without moving your hand. Learn more about the basics in our guide to graffiti shading techniques. 🎨
Advanced fading: Step-by-step guide
How to execute a professional vertical fade
- Select your palette: Choose three shades of the same hue (e.g., dark blue, medium blue, light blue). Ensure the cans have similar pressure levels.
- Apply the base (Dark): Spray your darkest colour at the bottom. Use a standard fat cap for quick coverage but keep the paint layer thin.
- Introduce the mid-tone: While the dark paint is wet, spray the medium colour above it. Overlap the bottom 20% of the mid-tone stroke with the top edge of the dark stroke.
- The "Dusting" technique: Hold the medium can further back and lightly "dust" the transition line between the two colours. Use a flicking wrist motion.
- Integrate the highlight: Repeat the process with the lightest colour at the top, overlapping into the mid-tone.
- The reverse blend: Go back with your mid-tone and lightly spray into the light and dark areas to "knit" the colours together.
Common errors and how to fix them
Even experienced artists encounter issues when pushing the limits of fading. Here are the most frequent pitfalls:
- Drips: This usually happens when an artist tries to blend by spraying too much paint in one spot. To fix this, use faster hand movements and multiple light passes rather than one heavy pass.
- The "Halo" effect: This occurs when a bright colour is sprayed over a dark one, creating a visible "ghost" line. Avoid this by using high-opacity professional paints and ensuring your "dusting" is wide enough to mask the transition.
- Chalky finish: If you hold the can too far away, paint can dry in the air before hitting the surface, resulting in a rough, dusty texture. Ensure you maintain a balance between distance and speed.
Equipment recommendations for precision blending
Your results are heavily influenced by your hardware. In Graffitifun workshops, we prioritize the right combination of caps and pressure. 🛠️
Cap selection
- Skinny Caps (e.g., Gold Series/Pro): Essential for fine blends in tight spaces or detailed lettering. They offer a thin line and low output.
- Soft Caps: The "Holy Grail" for blending. These caps have a circular, misty output that makes fading incredibly easy for both beginners and pros.
- Fat Caps: Use these for large-scale mural gradients where you need to cover significant surface area quickly while maintaining a "fuzzy" edge.
Pressure control (Low vs. High)
For advanced blending, low-pressure cans are generally preferred. They allow for more "thinking time" and prevent the paint from bouncing off the surface. If you only have high-pressure cans, you can simulate low pressure by turning the can upside down and spraying until only gas comes out for a few seconds (use with caution).
Beginner vs. Advanced adaptation
While the physics remains the same, the application varies based on skill level. In our innovation training sessions, we often teach simplified versions for quick results.
Beginner approach: Focus on "Halving." Spray two colours side-by-side and use a third, middle colour to cover the seam. It’s a mechanical approach that guarantees a decent result.
Advanced approach: Focus on "Pressure Sensitive Blending." Using a "German Thin" or similar cap, the artist varies the finger pressure on the nozzle (feathering) to control paint flow mid-stroke. This allows for a 10-colour gradient to look like a single, seamless shift of light.
Training progression: Building muscle memory
Mastering the fade requires consistent practice. We recommend this three-stage training routine used by professional artists:
- The Grayscale Challenge: Practice blending black into white through four shades of grey. Without the "distraction" of colour, you can focus purely on values and transitions.
- The Circle Drill: Paint a 2D circle and use fading to make it look like a 3D sphere. This teaches you how to blend around curves, which is vital for mural art and character work.
- The Speed Fade: Try to create a smooth three-colour blend over a 2-meter area in under 30 seconds. This forces you to stop overthinking and trust your wrist motion.
Practical application: Workshops and Team Building
Fading and blending aren't just technical skills; they are metaphors for collaboration. In our leadership development through graffiti programs, participants learn that a perfect blend requires two different colours to "give up" their individual borders to create something new and beautiful. It is a powerful exercise in team cohesion and shared vision. 🤝
Expert attribution: The Graffitifun standard
This technical guide was compiled with the input of Graffitifun’s senior muralists. With over a decade of experience conducting workshops for Fortune 500 companies and local communities, our team understands the nuances of aerosol chemistry. We believe that graffiti is a high-level art form that requires both technical discipline and creative freedom. Our workshops provide all professional materials (including masks, gloves, and specialized caps) to ensure every participant can experience the satisfaction of a perfect blend in a safe, professional environment.
Frequently asked questions
Keep reading
Ready to Create Your Masterpiece?
Book your graffiti workshop today and discover the artist within! It's going to be AWESOME!