Layering techniques
Learn professional layering techniques for graffiti and spray paint art. Step-by-step guides for beginners and advanced artists from expert urban educators.
Layering is the cornerstone of professional aerosol art. Unlike other mediums where you might work on a flat plane, graffiti is built in "strata"—layers of pigment that create depth, sharpness, and visual impact. Mastering layering techniques allows an artist to correct mistakes, create complex color transitions, and achieve that iconic "crisp" look that defines high-quality street art. In this guide, we draw on years of hands-on experience from professional artists to break down the science of spray paint application. From basic fill-ins to advanced transparency tricks, you will learn how to sequence your work for maximum efficiency and aesthetic appeal. Whether you are a beginner or looking to elevate your mural game, understanding the "why" and "how" of layering is essential.
In the world of aerosol art, layering is not just a step in the process; it is the fundamental building block of every masterpiece. Whether you are crafting a simple throw-up or a complex piece, understanding how paint interacts in layers determines the depth, vibrancy, and longevity of your work. Our professional artists have spent years mastering these sequences to ensure colors pop and lines stay crisp.
The fundamental principles of layering
Layering in graffiti refers to the chronological application of paint from the background to the foreground. Unlike traditional oil painting where you might blend wet-on-wet, spray paint often requires a "build-up" approach. 🎨
The primary rule of layering is opacity management. Spray paint is essentially a suspension of pigment in a solvent. When you spray a light color over a dark color, the dark color may "bleed" through if the pigment load is low. This is why professional graffiti artists often use high-pressure cans with high opacity for their initial layers.
The "Fat over Lean" concept in aerosol
While often associated with oil painting, a similar concept applies to graffiti regarding pressure and thickness. Generally, you want your base layers—the fill-in—to be solid and consistent. If your bottom layer is too thick or "runny" (creating drips), every subsequent layer will reflect those imperfections.
Step-by-step: How to layer a classic graffiti piece
Following a structured progression is the best way to ensure your artwork looks professional and intentional. Here is the standard professional workflow used in our workshops.
1. The sketch (The skeleton)
Start with a light color (often called a "ghost" or "phantom" sketch). Use a low-pressure can with a skinny cap to map out the proportions of your letters or character. This layer is meant to be covered, so don't worry about perfection—worry about placement.
2. The background (Setting the stage)
It is almost always easier to spray your background before you do the final details of your letters. By layering the background first, you can "cut back" into your letter shapes later, creating razor-sharp edges without needing a steady hand for every single inch.
3. The fill-in (The body)
This is where you apply your primary colors. For a professional look, don't just use one flat color. Layer different shades from the same color family to create a gradient. Always start with your darkest shade at the bottom and work toward the light (or vice versa) to create a sense of three-dimensional form. This is the foundation for advanced shading techniques.
4. The power line and highlights (The polish)
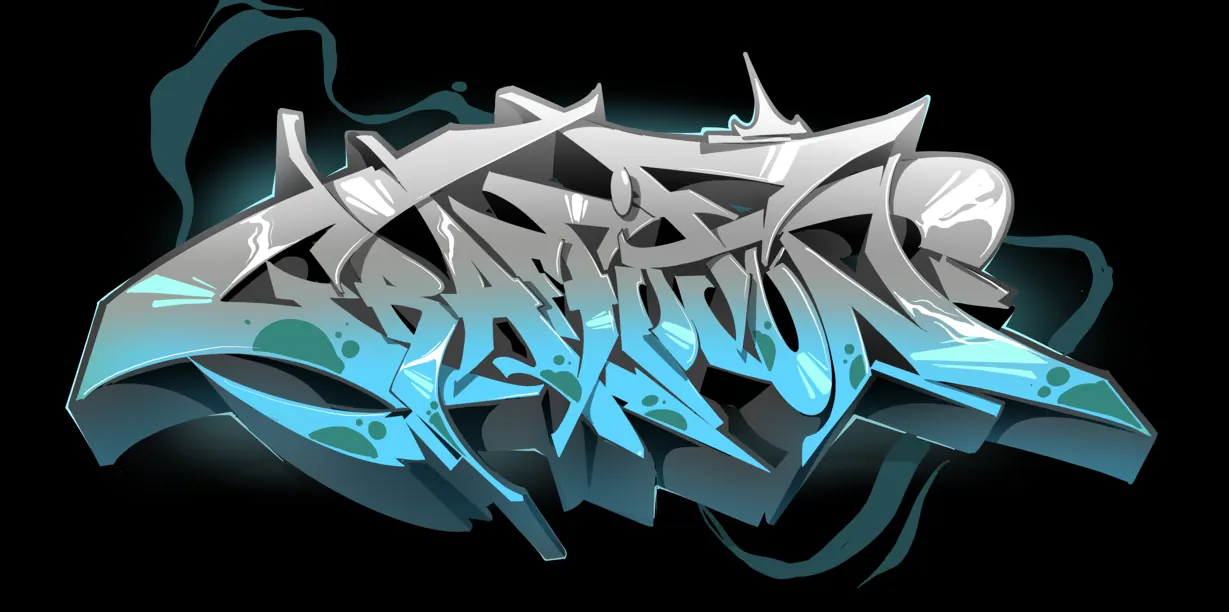
Once your fill and outline are complete, the final layering step involves highlights and "force fields" (outer glows). Using a bright white or a very pale version of your fill color, add dots or lines where the light would naturally hit your letters. This "top layer" sits on the very surface and brings the entire piece to life. ✨
Beginner vs. advanced layering strategies
As you progress in your journey with aerosol art, your approach to layering will evolve from simple coverage to complex optical mixing.
Beginner level: Solid coverage
Beginners should focus on "The Sandwich Technique." This involves three simple layers:
- The Fill (Bottom)
- The Outline (Middle)
- The Highlight (Top)
Advanced level: Transparency and blending
Professional artists use transparency layering. This involves using "transparent" or "glaze" spray cans. Instead of covering the previous layer entirely, these cans allow the color underneath to show through, creating new hues. This is essential for photorealistic mural art and complex portraits. Advanced artists also master "wet-on-wet" blending, where they spray two colors nearby and use a third, neutral color to bridge the gap while the paint is still slightly tacky.
Common layering errors and how to fix them
Even experienced artists encounter layering issues. Understanding why they happen is the first step to preventing them.
- Cracking (Alligatoring): This occurs when you apply a fast-drying layer over a slow-drying layer. The top layer dries and shrinks while the bottom layer is still shifting, causing the surface to split. Fix: Allow sufficient drying time between heavy coats.
- Bleed-through: When a dark color underneath (like a permanent marker or dark red paint) shows through a lighter top coat. Fix: Use a dedicated "blocker" or "primer" coat, or choose high-pigment professional paint lines.
- Dusting/Ghosting: This happens when overspray from a nearby section lands on a finished layer, making it look dull. Fix: Use cardboard "shields" or re-outline your work as the very last step.
Equipment recommendations for layering
Your tools determine the success of your layers. Not all paint is created equal when it comes to stacking colors. 🛠️
For high-quality layering, we recommend Matte Finish Paint. Glossy paints can be "slippery," making it harder for subsequent layers to grip the surface. Matte paint provides a "tooth" that allows for 10 or 20 layers without losing detail.
Additionally, choosing the right cap types is vital. For background layers, use "Fat Caps" to cover large areas quickly and prevent the paint from drying before you can blend it. For the top details and highlights, switch to "Super Skinny" or "Needle" caps to ensure the final layer doesn't overwhelm the work beneath it.
Training progression: How to practice layering
- The Gradient Plank: Take a flat surface and practice layering five shades of one color, overlapping each by 50%. The goal is a smooth transition where the layers disappear into one another.
- The "Cut-Back" Drill: Spray a large circle of one color. Then, use a second color to spray a smaller square inside it. Use the first color again to "cut" the square into a triangle. This teaches you how to use layers to correct shapes.
- Blackbook Prep: Before hitting a wall, practice your layering sequence in a blackbook with alcohol markers. Markers behave similarly to spray paint in terms of transparency and layering order.
The role of layering in workshops
In our professional workshops, we emphasize that layering is about patience. Many participants want to rush to the final outline. However, we teach that the "guts" of the piece—the layers of fill and texture—are what define the artist's style. By following a structured layering process, even someone who has never held a spray can can produce a clean, professional-looking mural by the end of the session. 🎓
Expert attribution: The Graffitifun perspective
This guide was developed by the Graffitifun editorial team, drawing on over a decade of worldwide experience in urban art education. Our artists have spent thousands of hours on scaffolding and at street level, perfecting the science of aerosol application. We believe that professional results come from a combination of the right materials and a disciplined technical approach. Whether you're a curious beginner or looking to refine your outline control, mastering the art of the layer is your gateway to becoming a versatile urban artist.
Frequently asked questions
Keep reading
Ready to Create Your Masterpiece?
Book your graffiti workshop today and discover the artist within! It's going to be AWESOME!